This project will take off the shelf items and assemble them into what is being called the Atmospheric Indoor Revitalizer (A.I.R.). This first project guide is why this guide is called the A.I.R.1 project. These unique names allow for better differentiation and search friendly terms when others are looking for this information. We are only providing this project guide to show how we made our own DIY photo catalytic oxidation (PCO) air revitalizer. We took steps to make sure we were using components in line with similar PCO devices being manufactured and sold for the purposes of air purification against mold / mycotoxins, bacteria, and viruses however we do not offer a product of our own and therefore do not make any claims as to the exact effectiveness of this DIY project. This is a simple do-it-yourself guide put together for informational purposes only. We do not make any claims as to the effectiveness of this DIY device. If you decide to follow this guide you are doing so at your own risk, we are not responsible for any voiding of warranties, financial loss, or injury that may result in attempting to follow this DIY project guide. Exercise caution and eye protection around UV light rays and mold infestation. We are merely sharing what we did so that others could end up with what we have. Please do your own research to decide if PCO technology is right for you and your situation. It is not recommended to use PCO technology with bleach fumes present and probably not a good idea to diffuse essential oils along with it as well. The benefit of a DIY air revitalizer vs. other PCO products would be cost savings and a better looking external appearance than many competing devices at present.
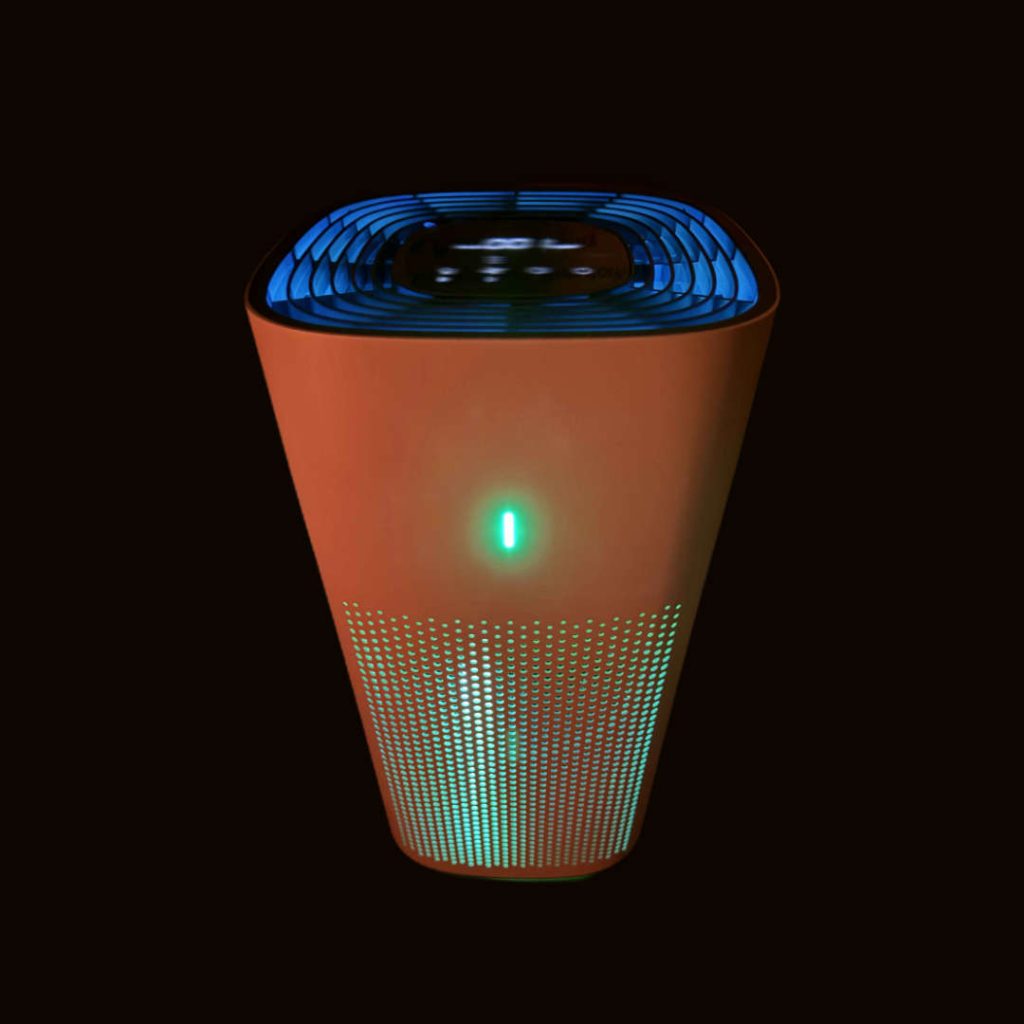
What does it look like?
In this particular DIY project, we decided to use a Clorox 1500 sqft HEPA air purifier. We do not make use of the HEPA filter itself and the final DIY project does not offer HEPA filtration. If you build this DIY project and convert your air purifier into a PCO atmospheric indoor revitalizer, it will still provide some filtration but not HEPA filtration. The modifications you will make to the original device if you follow this guide will be mechanically nondestructive, so all you need to do is remove the new filter housing components we create in this guide, put in the HEPA filter that goes with the original unit and it is back to being a normal functioning HEPA filter again.
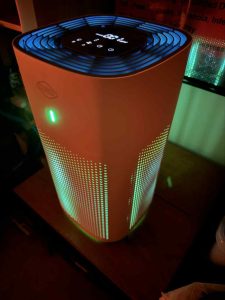
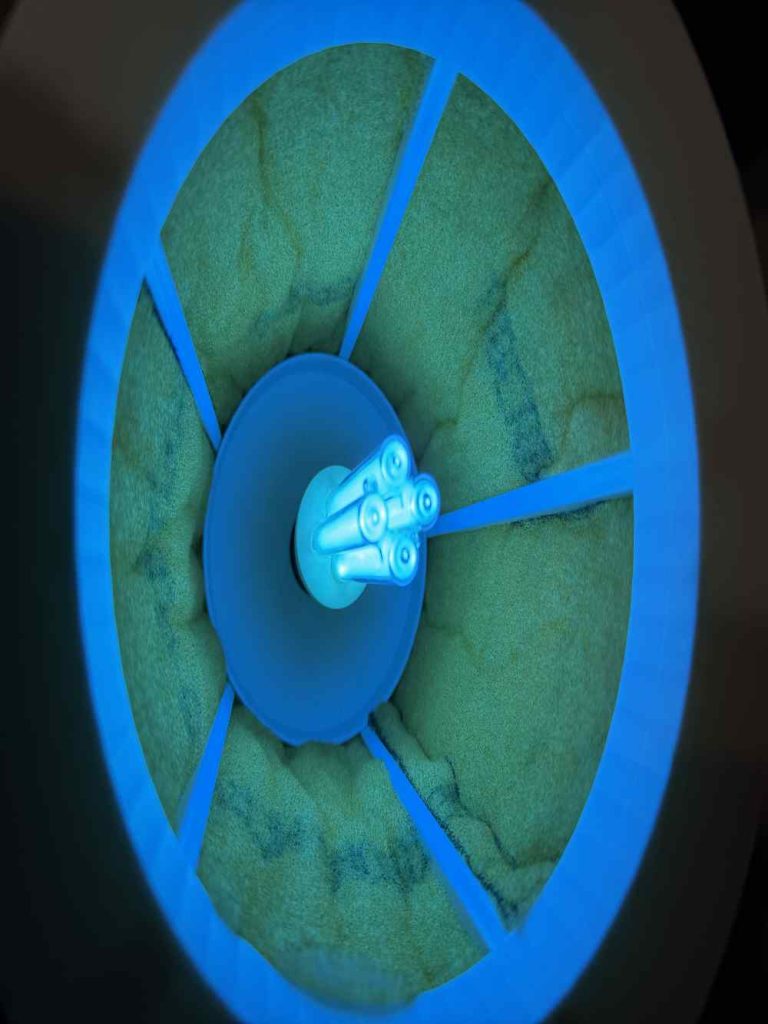
The only noticeable difference after this DIY project conversion is that the unit will glow. The glow is produced by the UV lightbulb that activates the catalyst to produce the hydroxyl reaction. Most of the light emanating from the unit is indirect but be warned: Do not expose your eyes to the uncovered bulb itself as staring at direct UV light may be damaging to your vision.
Parts required for this DIY project
Here are the currently easily obtained parts we will use for this DIY project that we will source from Amazon.
- Clorox 1500 sqft air filter unit The main unit to house our project.
- UV-C E26 base 254nm bulb This specific wavelength is necessary.
- E26 Table Lamp Base (currently could only find this size as a 2-pack)
- Activated Carbon Filter Sheet, 16″ x 48″ x 0.2 We will cut specific sized pieces from this.
- Catalyst coated pads. You can either try making your own out of a special titanium dioxide coating sprayed onto one of these pads: Blank Filter Roll that could be used (ONLY IF PROPERLY COATED!!). OR, you could buy one of the larger size catalyst reactor pads replacement kits from one of the leading manufacturers of a PCO device that is highly recommended in some mold health related groups: Reactor pads (large square size only). We are not affiliated with this company but if you decide not to try and make your own catalyst pads, they are the easiest and possibly most effective option. Plus they will probably benefit from people purchasing replacement kits that normally would not have purchased anything from them due to income limitations, so perhaps it will be a win / win for everyone.
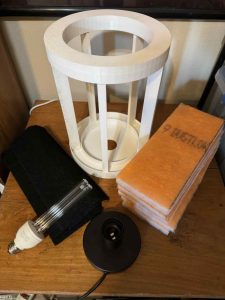
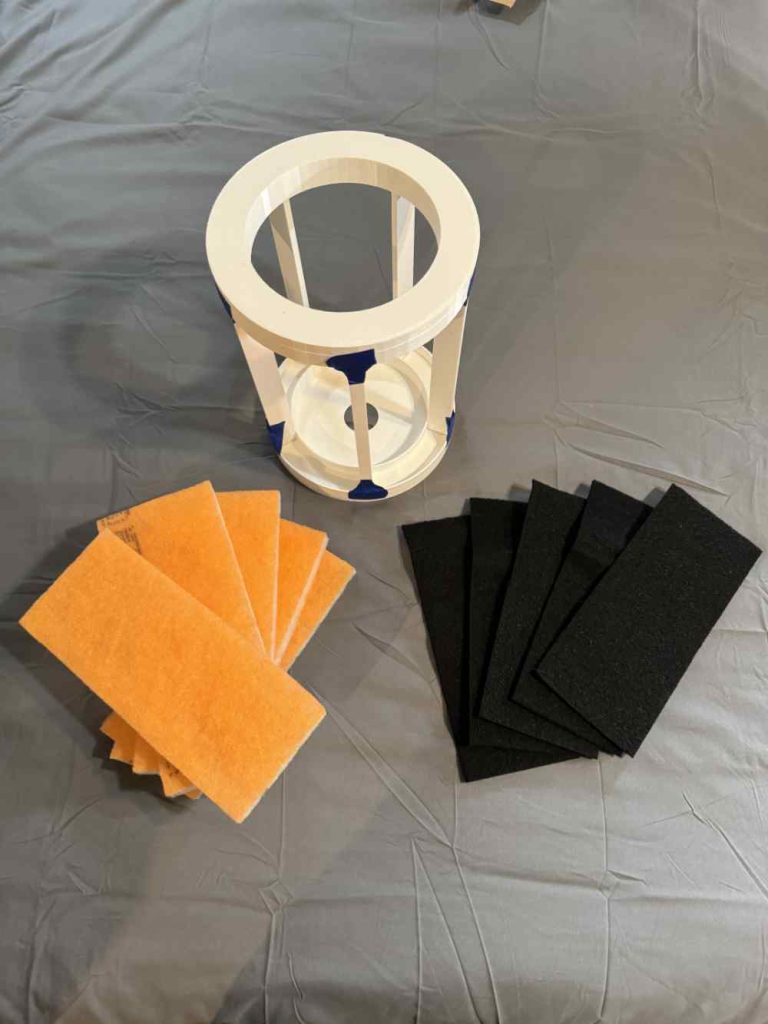
- 3D printed A.I.R.1 Atmospheric Indoor Revitalizer 3D print files , we need to have 1 top piece, 1 bottom piece, and 5 of the filter posts. These are all included if you purchase the files through the link just mentioned. They should be printed in White colored PETG filament and will require a typical consumer 3D printer capable of printing items as wide as 300mm. We are going try to and work with a trusted entity in the U.S. to offer to make and sell these parts for people who may not be able to find access to a 3D printer. (The parts file for purchase allows for personal noncommercial use).
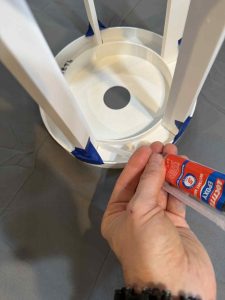
- Loctite Instant Mix Expoxy This is needed to strongly secure the 3D printed parts together during the assembly process.
- Painters tape or masking tape Needed for hassle free and successful application of the epoxy.
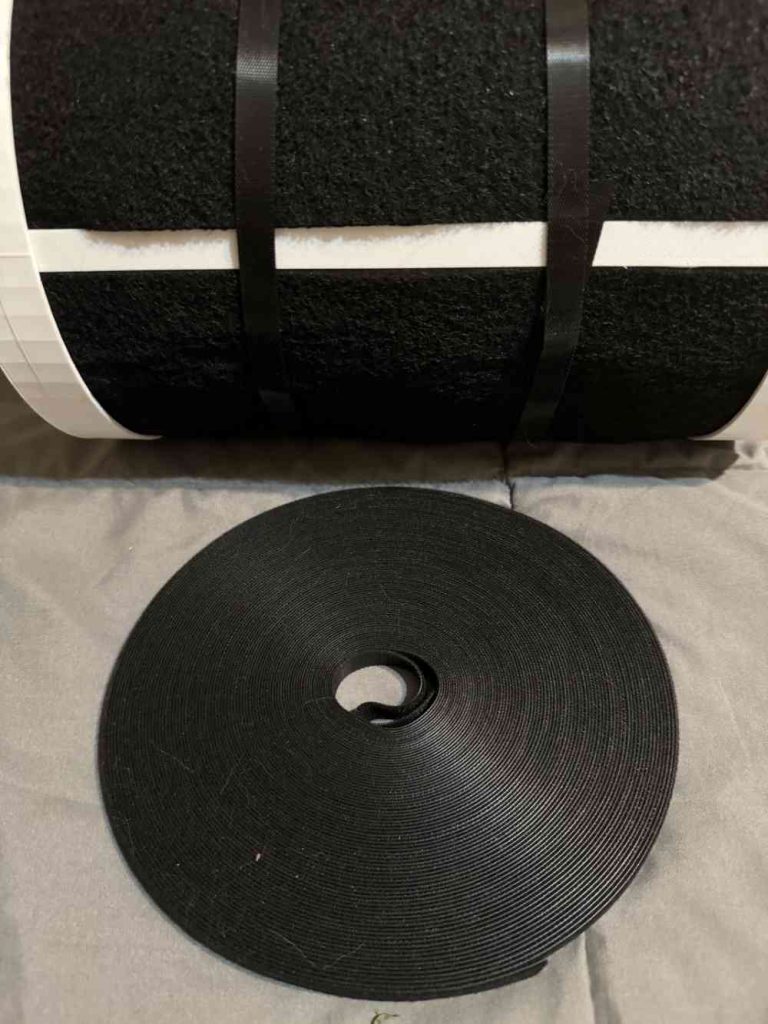
- Thin but long velcro strips to secure the filter assembly.
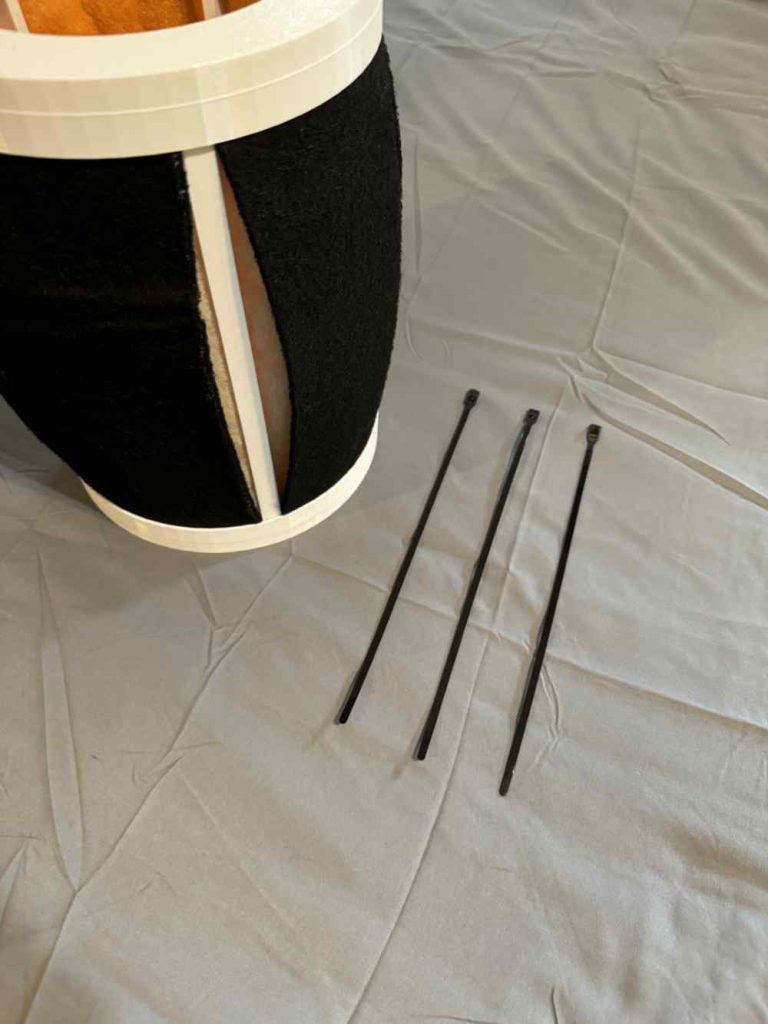
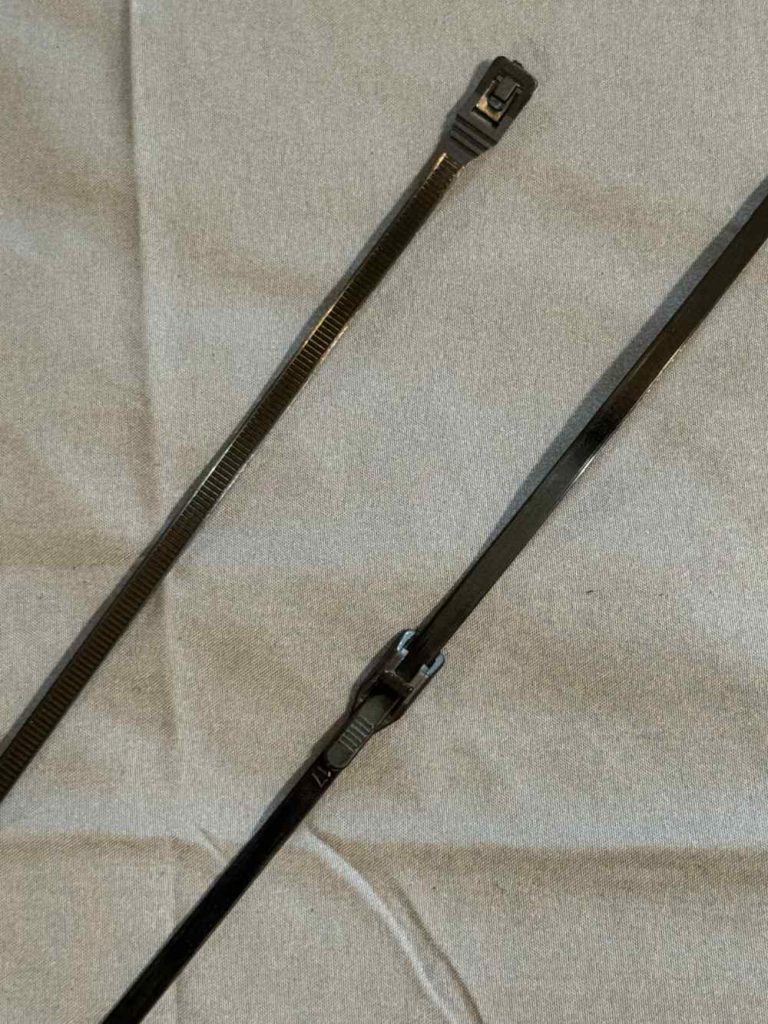
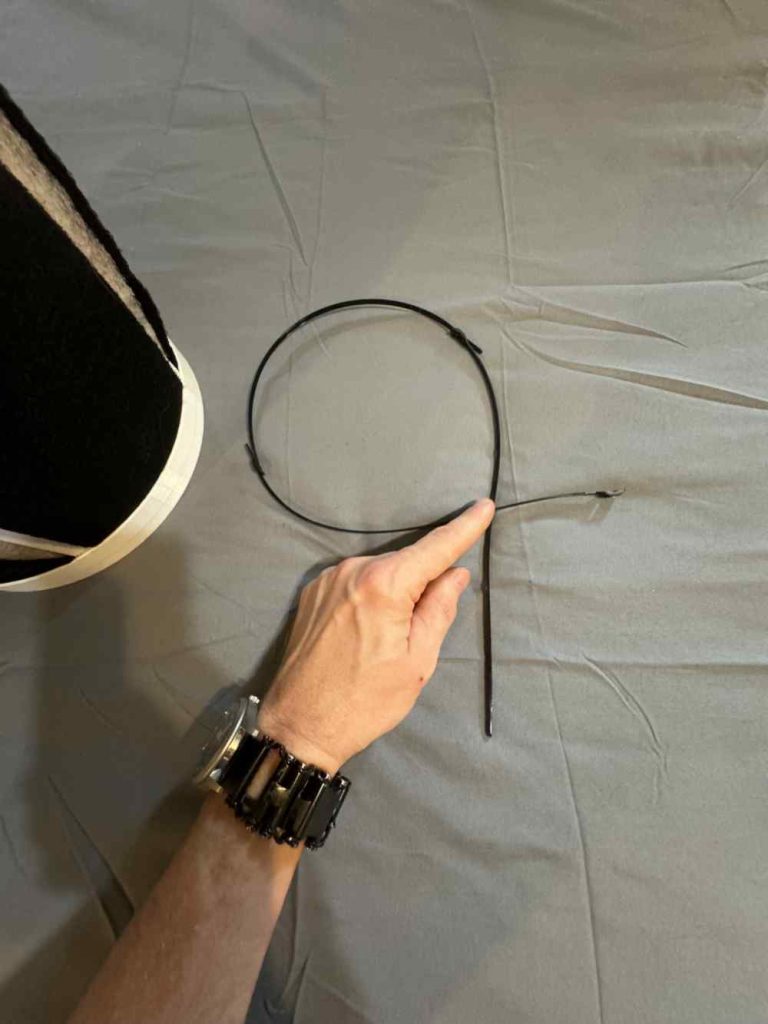
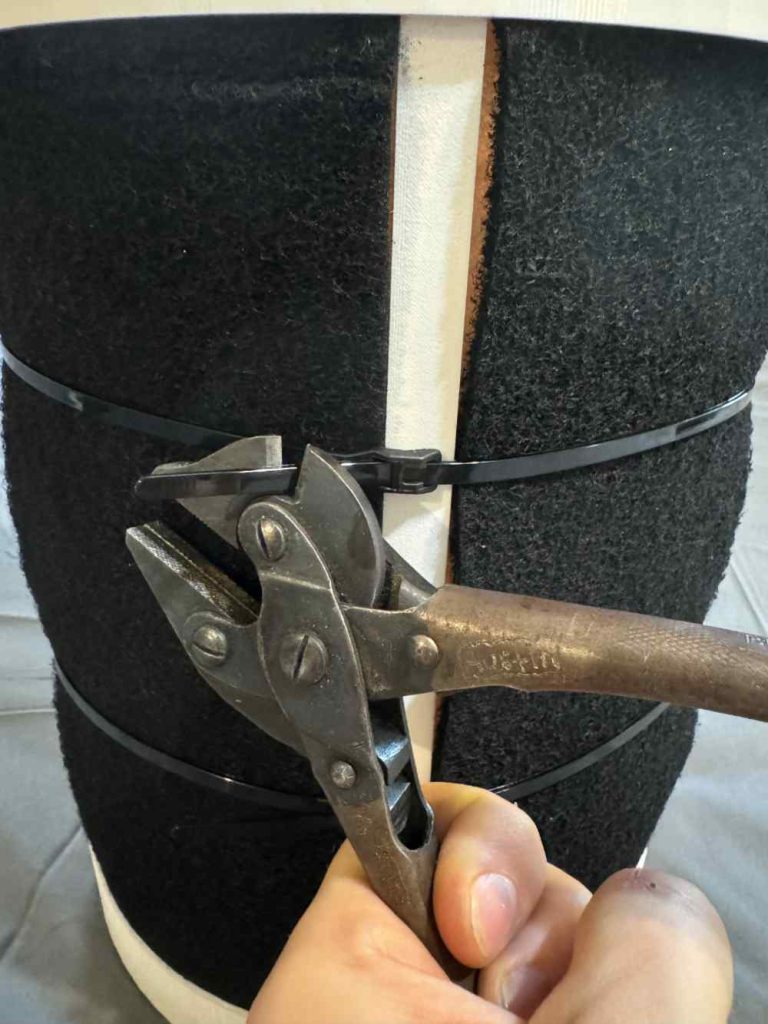
- Alternatively, you could use these particular zip ties instead of velcro, but velcro works quite well. Low profile zip ties, at least 11″ – We will be combining them together as a simple low profile way to secure the final filter assembly.
*As Amazon associates we may earn a small commission on qualifying purchases.
Assembly
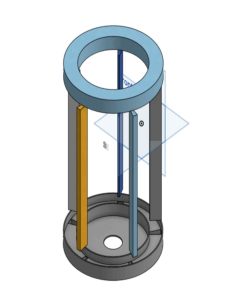
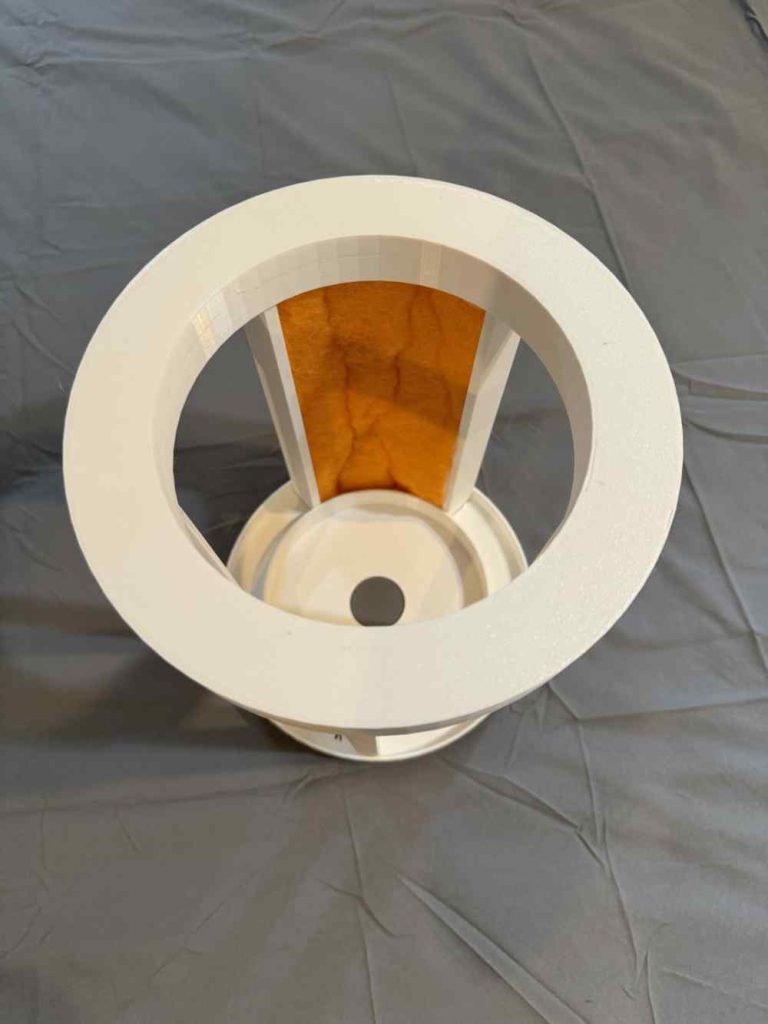
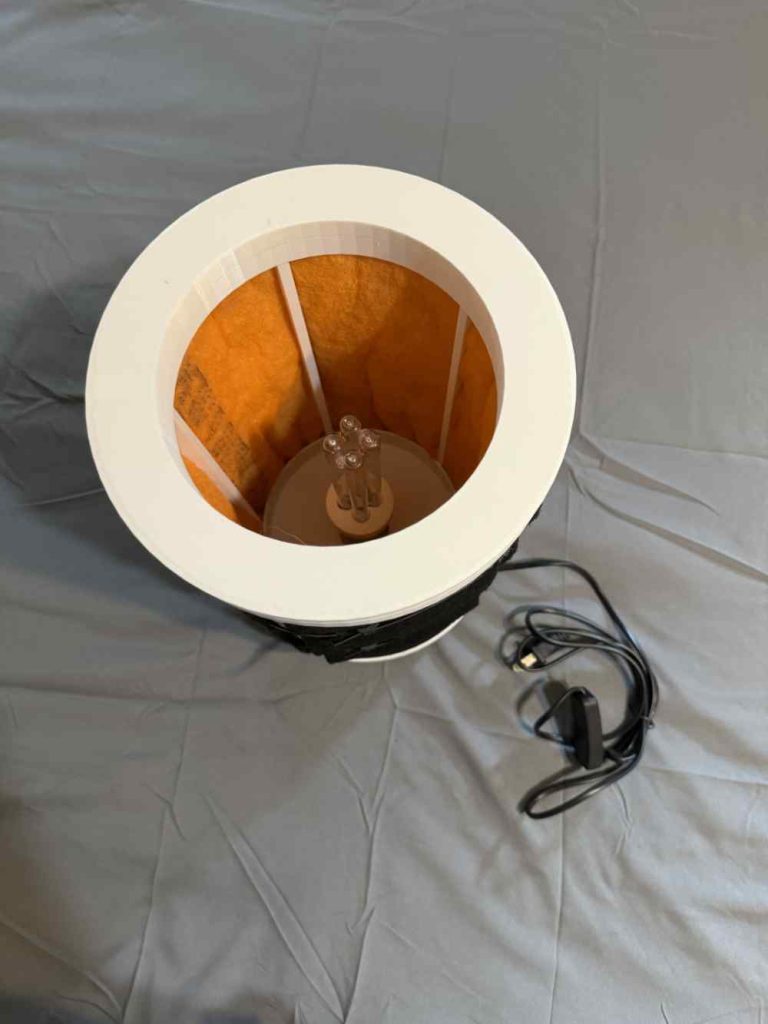
Once you have obtained the necessary parts listed above, you may begin the assembly process. The specific parts selected from the affiliate links above are chosen so that they fit perfectly together at just the right sizes and emit the proper wavelength of light, etc. Assembling the 3D printed filter housing is an important step that once completed will make the rest of the DIY build project almost self-explanatory.
I have found that it is best to put it together standing up with top and bottom pieces attached. The pieces themselves are undersized slightly in order to both allow for 3d printing deviations as well as to allow some space for the epoxy to flow into in order to create a stronger bond. Because of this fit, we need to secure it with painters tape or masking tape temporarily while we apply the quick-cure instant mix epoxy.
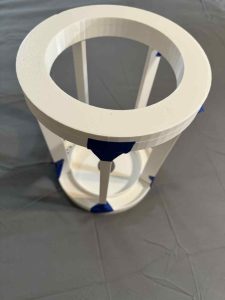
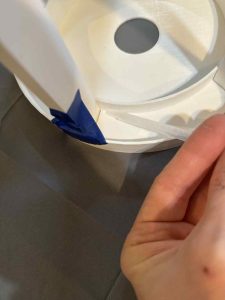
It is best to be quick when working with epoxy, it will cure very fast and solidify the entire tube you are working with if you don’t keep it flowing efficiently. Make sure it is assembled securely with the painters tape and that each filter post is inside its own specific indentation in both the top and bottom pieces of the filter housing assembly. It will still have a slight wobble at this point but it needs to be taped together on the sides as shown in the image but Not taped inside where we will be applying the epoxy.
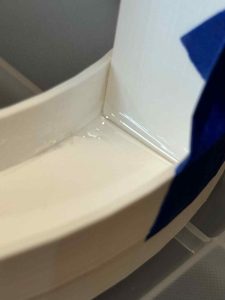
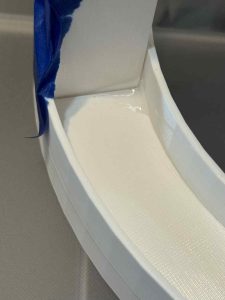
When you are ready to apply the epoxy, apply enough to coat the inside seam of the filter post and the round piece you are working with. Simply apply it and gently rotate it to do the next seam until you have done both seams on the sides of the filter posts (the goal here is making the frame rigid and strong by filling in the gaps just enough to do so while making sure that we save enough epoxy to flip the filter housing upside down so we can also apply the same epoxy to that side as well. There should be plenty of epoxy to achieve this.)
When the epoxy has been applied to the filter post seams you should make sure it is straight and on a flat surface to cure. It should be fully cured in 30 minutes or less.
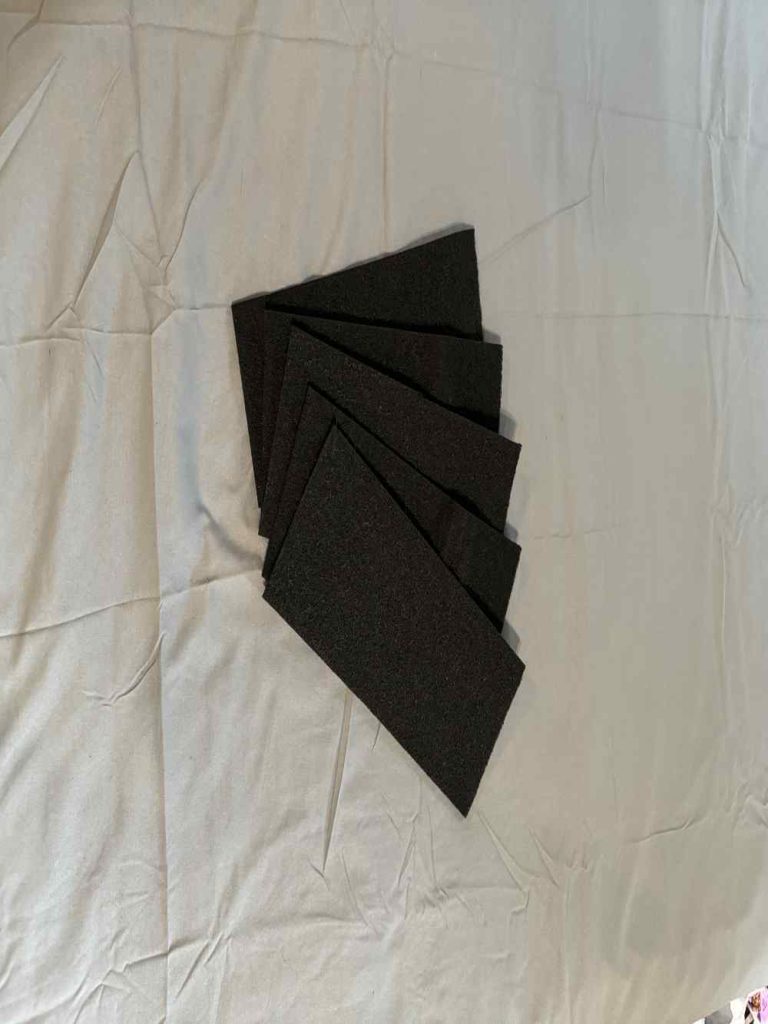
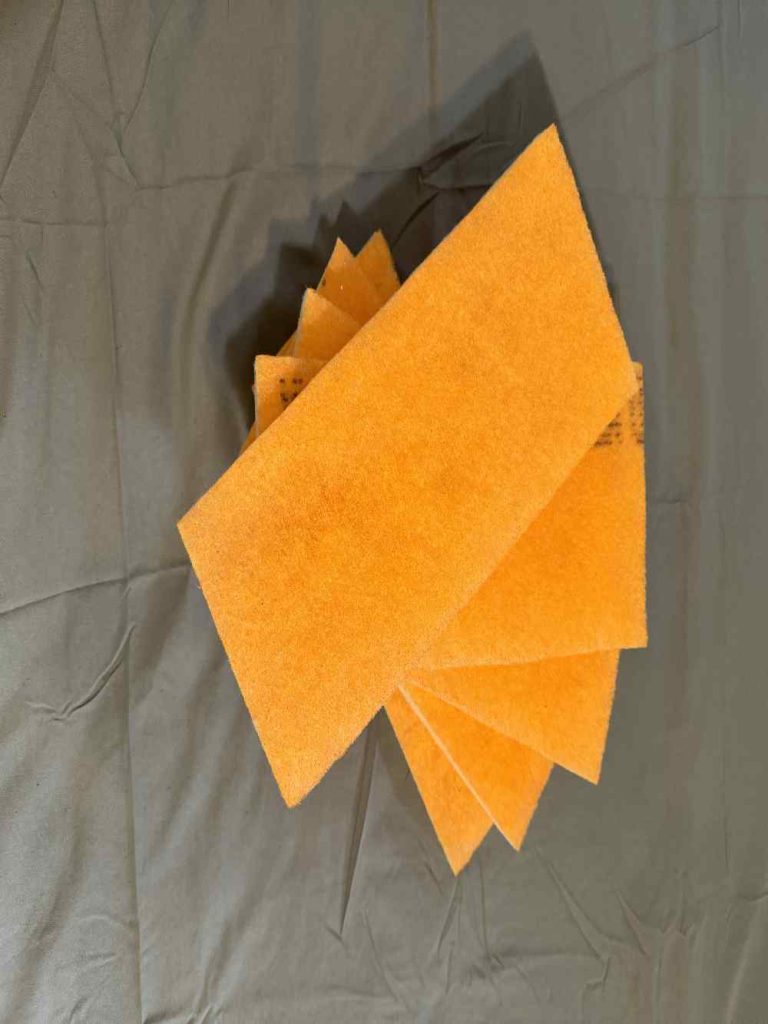
The filter & catalyst pads
We will need to have the activated charcoal filter pads and the catalyst coated pads cut to the appropriate sizes in order to insert them into the filter housing after the epoxy cures. If you purchased the 3D print models from the link above or in the parts list, you have the option of printing template pieces that are the same size as the pieces of the pads that you will need to cut out. This is optional, you can also just measure them yourself but you do need to try to be fairly precise with your cuts so that they are straight and properly sized.
The activated charcoal filter pad pieces (you will need 5 pieces this size):
- 120mm wide X 273mm tall (qty: 5)
The catalyst filter pads / reactor pads (you will need 5 pieces this size):
- 113mm wide X 273mm tall (qty: 5)
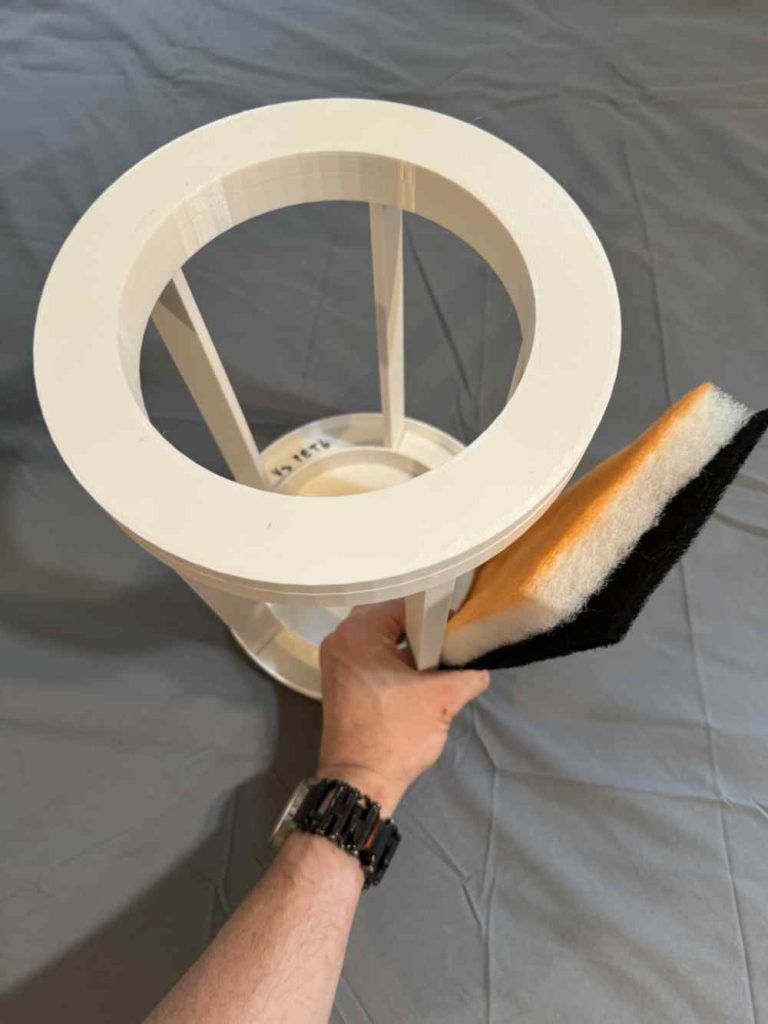
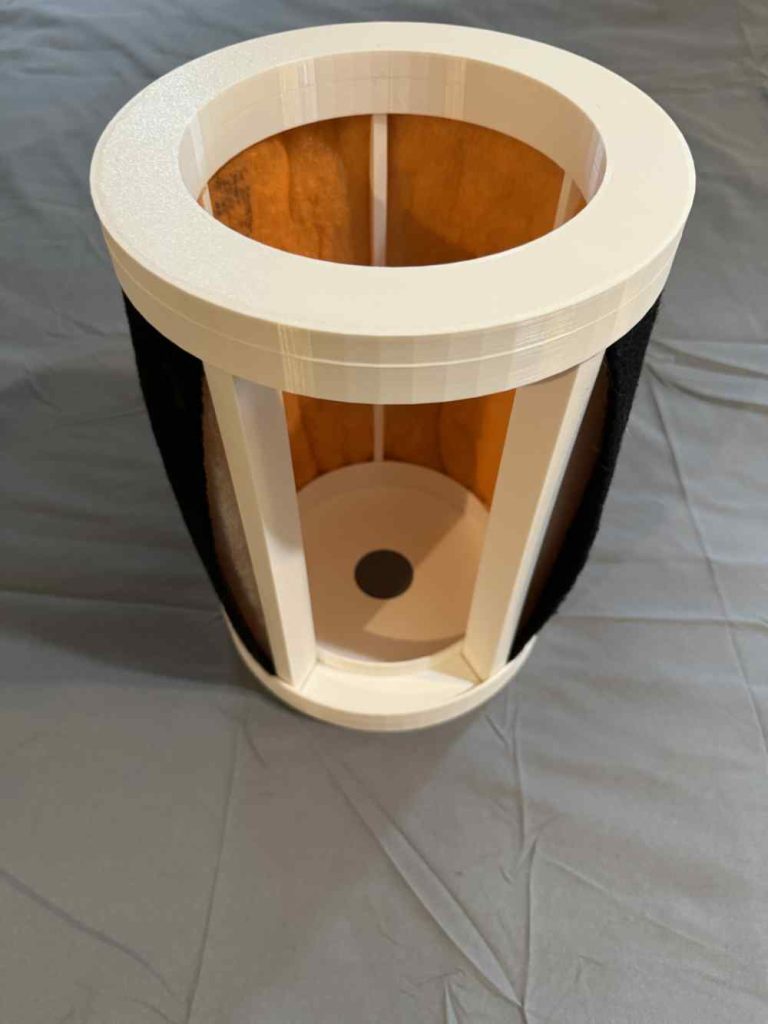
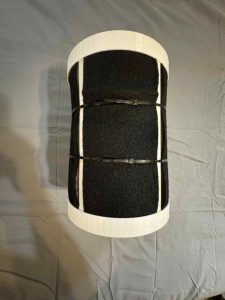
Keeping it together
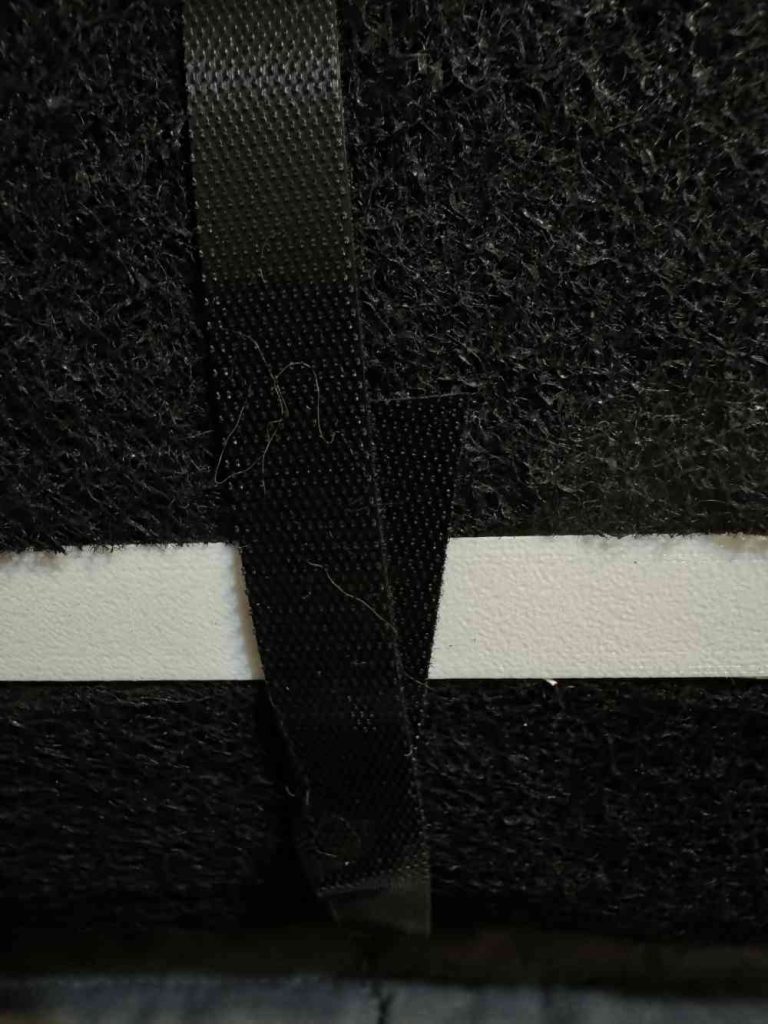
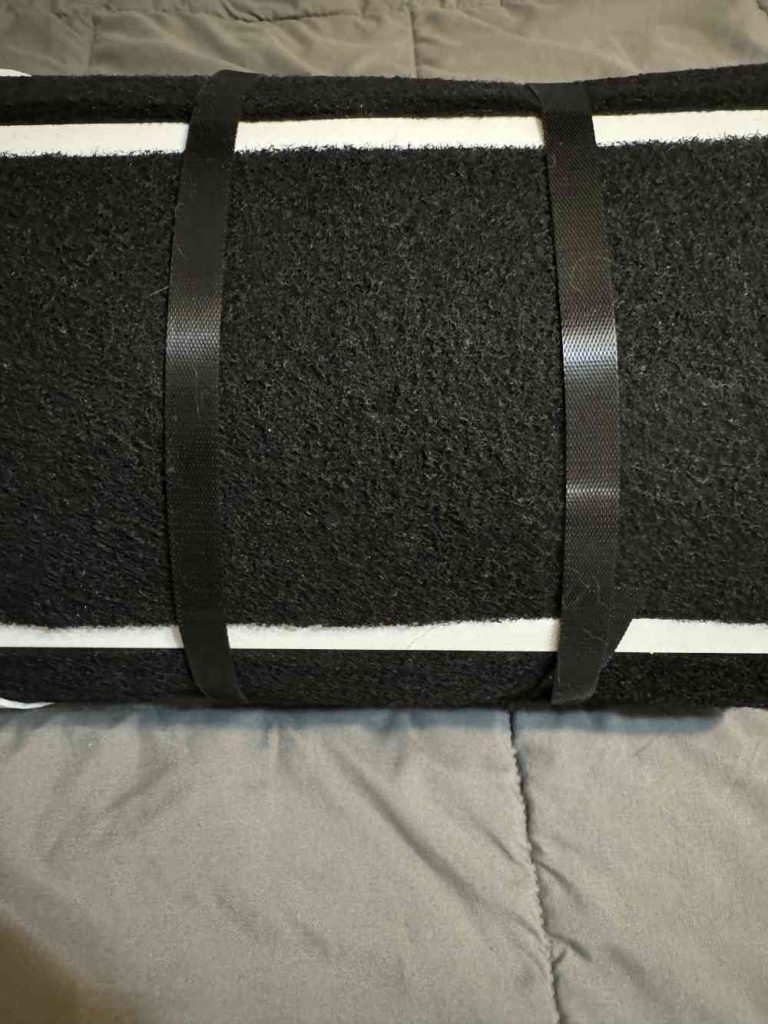
The filter pads and catalyst pads that we cut out are intended to be fairly tight when inserted into the 3D printed filter housing so as to improve the air flow seal or rather to encourage air flow through the pads rather than any gaps around them. We will need to wrap the sides. I originally used a set of low profile zip ties have since switched to thin strips of double sided velcro. The purpose is to tighten it all up and make it slim and sturdy enough to fit inside the 1500 sqft air filter unit itself.
The Velcro Method
Let there be light
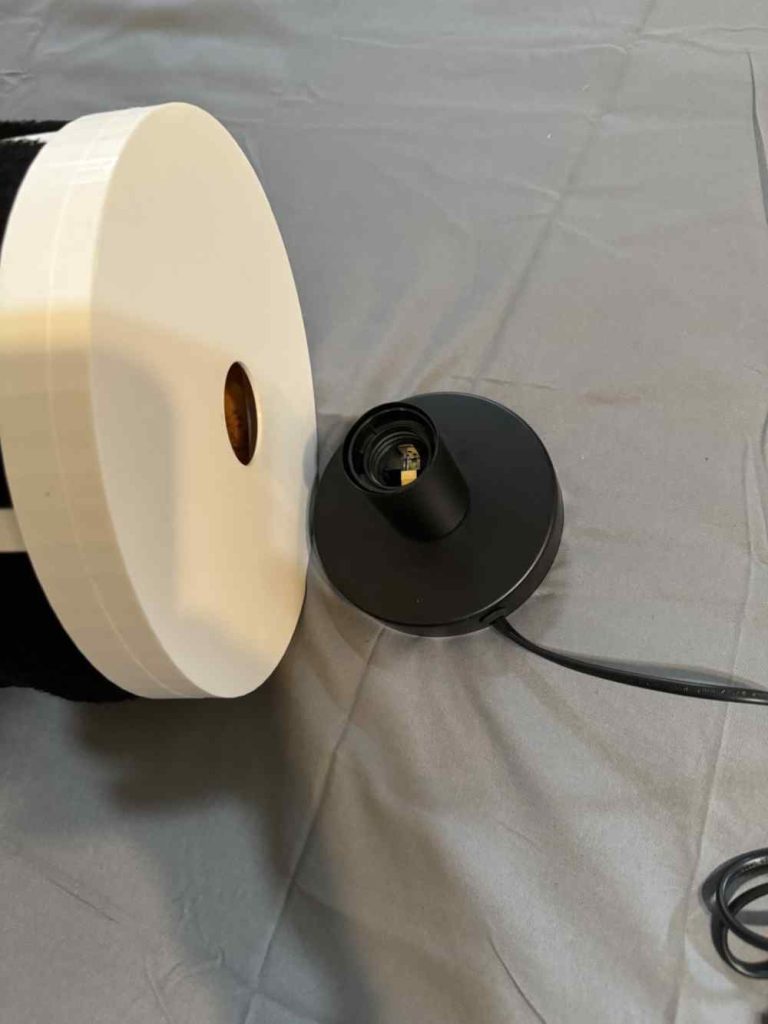
It gets a lot easier now. We just need to insert to specific lamp base from the parts list that will fit in the bottom of this filter assembly we just made that is sized just right so that it sits properly under the unit with just enough pressure. All we need to do though is take the lamp base and put it into the hole in the housing. Next we screw the 254nm UV light bulb in from the top while being careful not to touch the glass of the bulb with our hands (use a cloth).
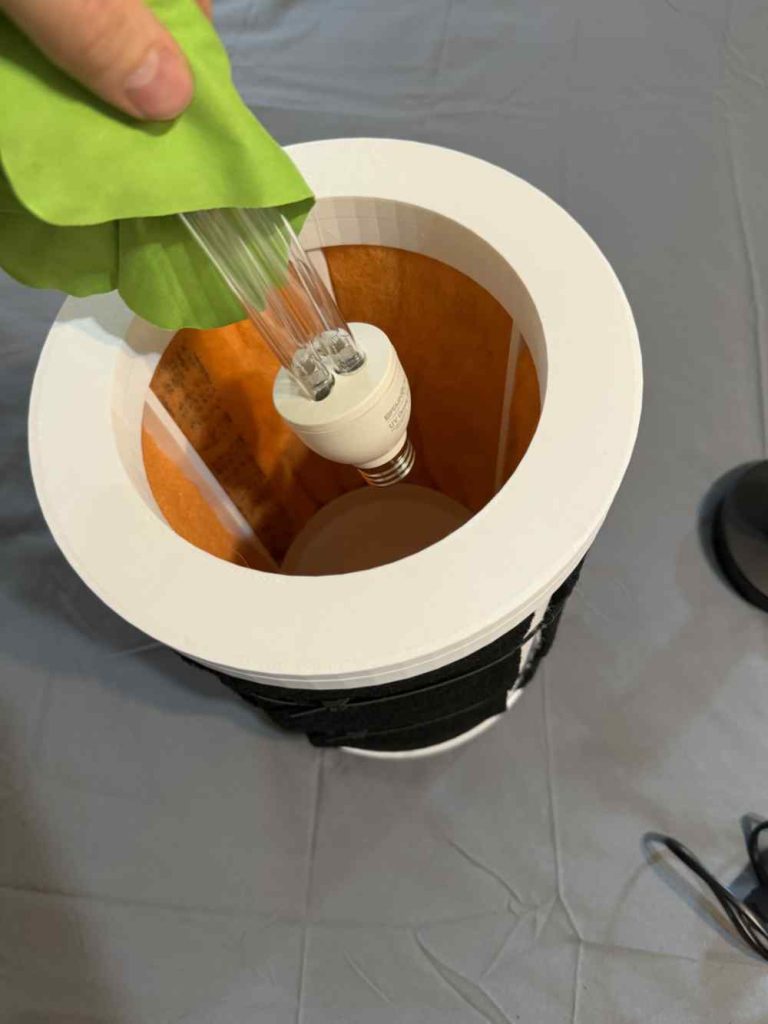
inserting the bulb without touching the glass
Observations
While testing the prototype units from this guide several different air quality meters were used. There was some concern about hydroxyls potentially creating VOCs such as HCHO. After several weeks of testing under varying conditions we did not notice any significant increase. We do Not recommend using a hydroxyl generator around bleach fumes and we do not recommend diffusing essential oils around these devices. Hydroxyl generation is also said to be more effective with slightly higher humidity levels above 45% or so, if you are trying to maximize it’s effectiveness.
Hopefully you benefit from this DIY project. We are merely sharing some information on how to build what we built and we sincerely hope that it may be helpful to others who are mold afflicted and want to use PCO hydroxyl technology in as affordable manner as possible. Be well!